
O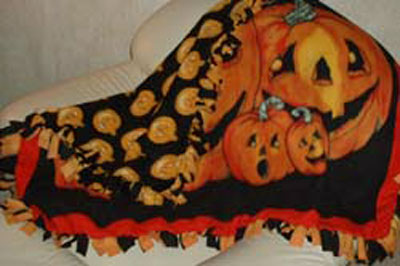 ur no-sew fleece throw blanket and pillow is a quick and easy DIY project to whip up for yourself and a cuddle buddy. We made ours for Halloween, but the options in polar fleece are limitless! You can finds patterns for everything; baby, teens, sports teams, hobbies… you name it. Best of all, you can combine two for a double-sided design like we did.
And seriously… if you can tie a knot, you can make this project.
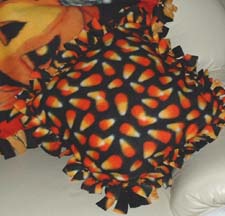
Make a matching pillow with our No-Sew Fleece Pillow DIY
It’s So Easy to Make this Craft… it’s Spooky!
Two simple polar fleece panels come together without a single stitch to create a cuddly Halloween throw perfect for crisp fall weather — and scary stories! This is a great family craft project. Anyone who can tie a knot can join in!
Materials:
- 2 Polar fleece panels cut to the same size. We found two complementary patterns with spooky Jack-o’-Lanterns at Jo-Ann’s Fabrics.
- Scissors or Pinking Shears

- Rotary fabric cutter (optional)
- Cutting pad (optional)
- Ruler
Step 1
Cut the two panels to the same size, allowing in your design 4″ all around for cutting 4″ fringes. We cut the panels to size using pinking shears to get a jagged edge.
Note: Polar fleece stretches one way and not the other, make sure both panels stretch along the same length when cutting.
Step 2
Align the two panels together, back to back, and cut fringes down one side, through both fabric thicknesses. We used a rotary cutter, but scissors are fine, too. We cut fringe 4″ long and the width of our ruler (1-1/4″). Fringe cut to about 1″ to 1.5″ in width works best for this craft project.
Note: When you get to the corners, you will cut the corner square completely out.
Step 3
Starting on one end of the cut fringe, tie together one front fringe with one back fringe, tightening the knot so it holds the front an back panel securely together. A square knot works best, and tie them all in the same direction (right over left, left over right) for a consistent finish. Continue tying knots down the side.
Step 4
Repeat Steps 2 and 3 on the other three sides until complete… and curl up and enjoy!


0 Responses